Are you trying to get your Ruther Glen home market-ready without overspending? You want buyers to feel confident the moment they pull in, especially when they care about acreage, outdoor living, and an easy commute on I-95. With the right staging plan, you can focus on the details that matter most to Caroline County buyers and create a strong first impression in photos and in person. This guide gives you a clear plan, budget ranges, and practical steps to coordinate everything smoothly. Let’s dive in.
What Ruther Glen buyers value
Ruther Glen attracts a mix of weekday commuters and local buyers who love space and practical features. Your staging should highlight:
- Simple access and parking for daily driving and visitors.
- Tidy, usable outdoor areas like porches and decks.
- Low-maintenance landscaping and clean, well-cared-for exteriors.
- Organized storage, especially garages, sheds, and mudrooms.
- Clear visual cues that show how the lot can be used for recreation, gardening, or projects.
When buyers see these priorities addressed, they feel less risk and more excitement.
High-ROI staging priorities for Ruther Glen
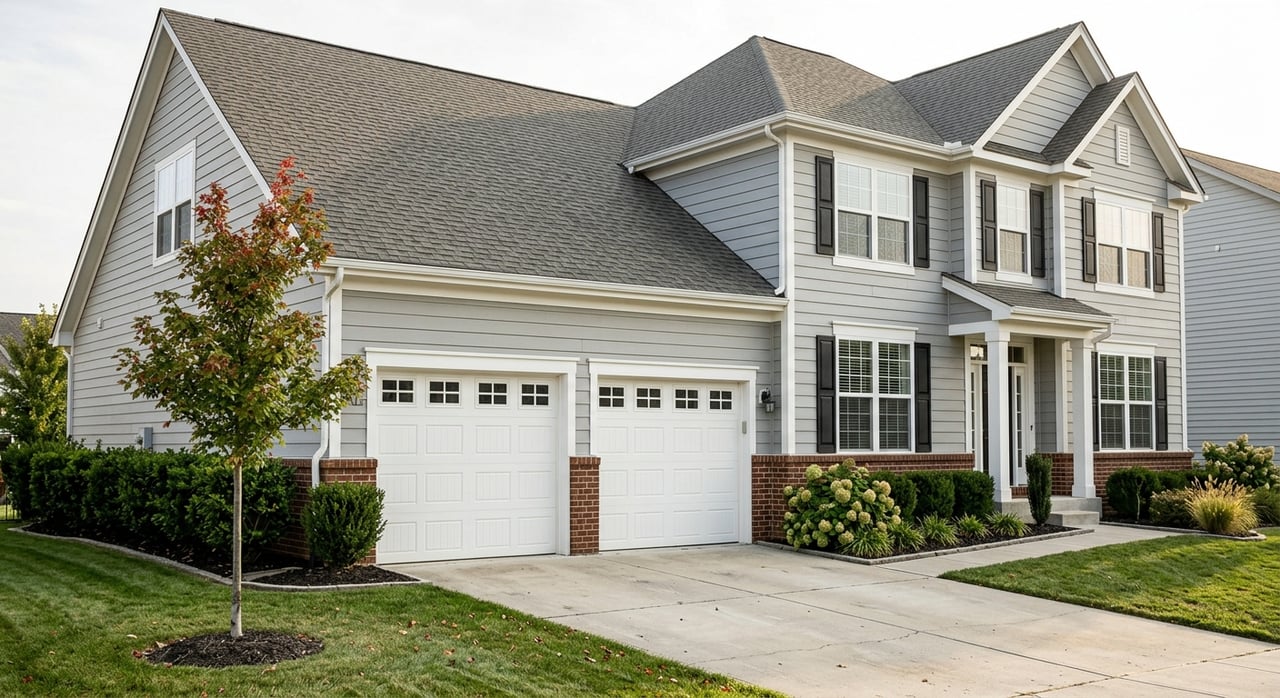
1) Curb appeal and first impressions
Small exterior upgrades can set the tone for the whole showing.
- Power-wash siding and the driveway, clean gutters, and repair any porch steps or railings.
- Refresh the front door with paint and updated hardware, and add a clean welcome mat.
- Mow and edge the lawn, trim shrubs, remove dead plants, and add fresh mulch.
- Place two symmetrical potted plants near the entry and clear any woodpiles or debris.
- Park personal vehicles out of sight for photos and showings; open up driveway sightlines.
- Fix or replace exterior lights and consider solar path lights for evening showings and twilight photos.
Why this matters here: Rural and suburban buyers often judge maintenance and lot usability from the curb. A clean, cared-for entry signals a well-kept home.
2) Declutter, deep clean, and depersonalize
This is essential and budget friendly.
- Remove family photos and niche collections to create neutral, inviting spaces.
- Clear countertops in kitchens and baths and store small appliances.
- Deep clean carpets, windows, and vents; address pet or smoke odors.
The result is larger-feeling rooms and an easy-to-imagine lifestyle for buyers.
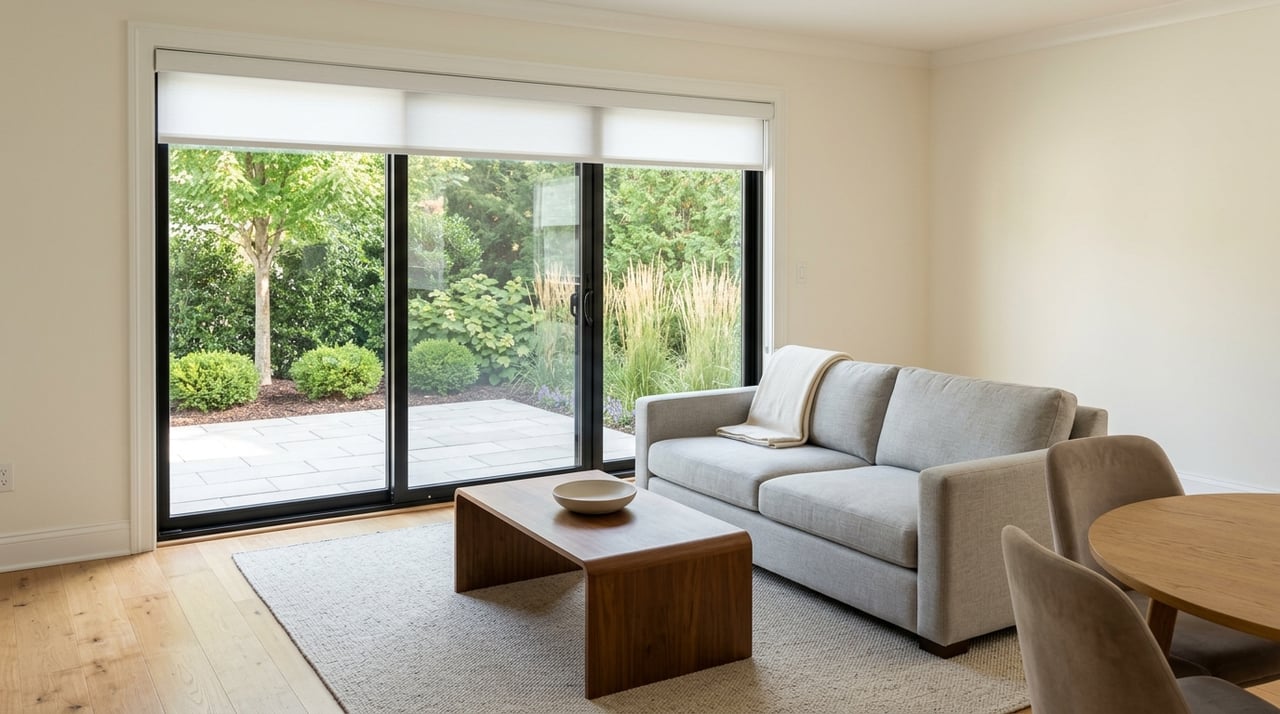
3) Light and window treatment optimization
Brightness sells, especially in tree-lined or rural settings.
- Maximize natural light by opening or removing heavy drapes and cleaning windows inside and out.
- Use consistent LED bulbs with a warm to neutral color temperature (about 2700–3500K) and replace dim bulbs.
- Add lamps to dark corners and layer lighting for both photos and showings.
- Place mirrors to reflect light in small or shaded rooms.
A brighter home photographs better and feels more welcoming.
4) Layout and furniture arrangement
Make every room easy to navigate and clearly defined.
- Establish clear walkways and remove oversized or extra furniture.
- Highlight focal points like mantels, windows, and conversation zones.
- For bedrooms, use a scaled bed (often a queen for secondary rooms) and keep surfaces minimal.
This helps buyers read the size and function of each space quickly.
5) Kitchens and bathrooms: targeted refreshes
Focus on small, high-visibility updates.
- Replace cabinet hardware, re-caulk sinks and tubs, and touch up grout.
- Update dated lighting or a worn faucet for a quick modern lift.
- Declutter counters, leave one simple plant or bowl, and show clean appliances.
- If budget allows, paint cabinets in a neutral tone instead of replacing them.
These modest improvements often carry outsized influence on buyer perception.
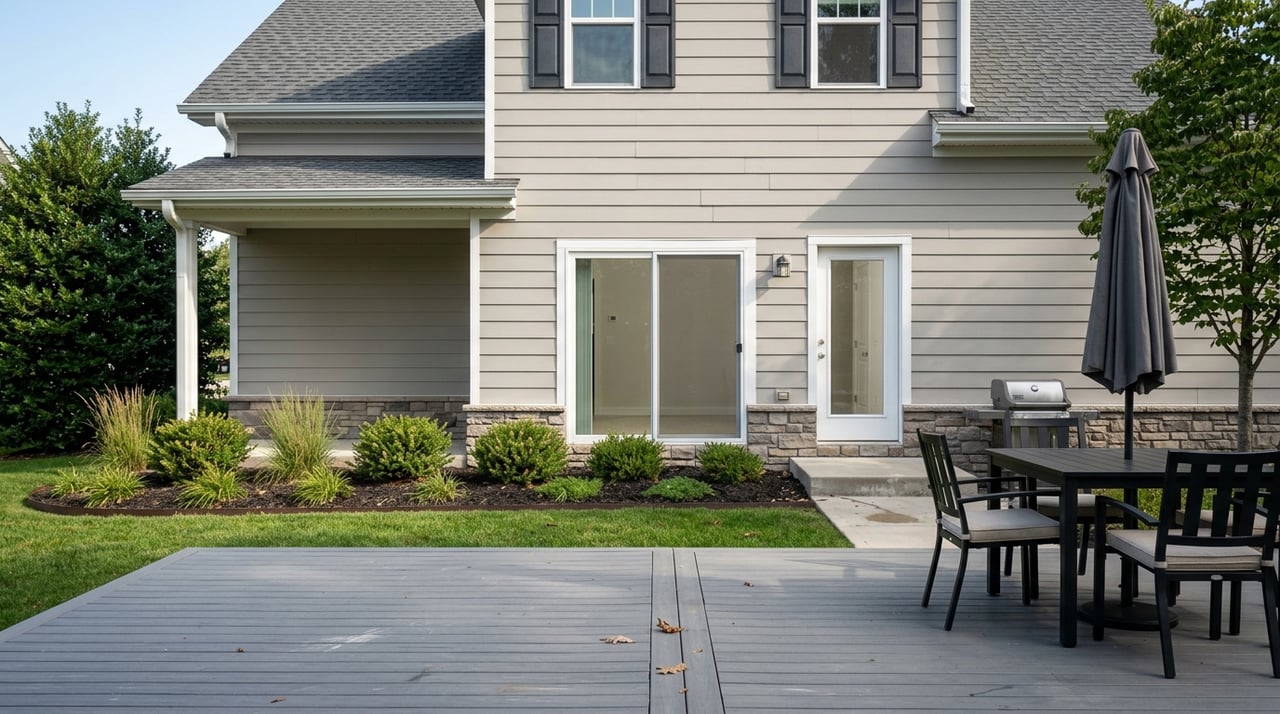
6) Outdoor living and acreage highlights
Show how the lot supports everyday life and weekend fun.
- Stage decks and porches with simple furniture, an outdoor rug, and a few potted plants.
- Clear pathways and tidy sheds, outbuildings, and garages.
- If you have multiple usable zones, make them obvious: a firepit area, a garden, or a workshop space.
- For larger lots, use drone photos to show boundaries and context. Remove visible junk or dilapidated items that distract from the land’s potential.
These cues help buyers imagine gatherings, projects, and recreation.
7) Photo and listing preparation
Great photos create momentum from day one.
- Declutter every surface, open curtains, make beds, and remove pet bowls and toys.
- Park vehicles away from the home and put trash and recycling bins out of sight.
- Prioritize interior shots of the main living area, kitchen, primary bedroom and bath, mudroom or garage, and your best outdoor spaces.
- Use twilight exterior photos if you have attractive lighting and drone imagery to capture acreage.
Plan photos for a bright day after staging is complete.
Budget, sequencing, and smart trade-offs
A clear plan keeps costs focused on what buyers value most.
Recommended sequence
- Walkthrough and prioritized checklist to identify quick wins.
- Safety items and curb repairs first.
- Deep clean and declutter.
- Light and minor cosmetic updates like paint touchups and hardware.
- Professional staging for key rooms and landscaping finishing touches.
- Professional photography, then launch the listing.
Typical local cost ranges
Every home is different, but these ballpark ranges help set expectations:
- Declutter and deep cleaning: $150–$600
- Small repairs and handyman tasks: $100–$1,000
- Paint touchups or interior paint: $200–$3,500
- Landscaping refresh: $150–$1,200
- Professional photography, including drone: $150–$600
- Partial staging (living, primary, dining): $700–$2,500
- Full home staging: $1,500–$6,000+
- Staging consult only: $150–$500
Prioritize low-cost, high-visibility items before taking on bigger projects.
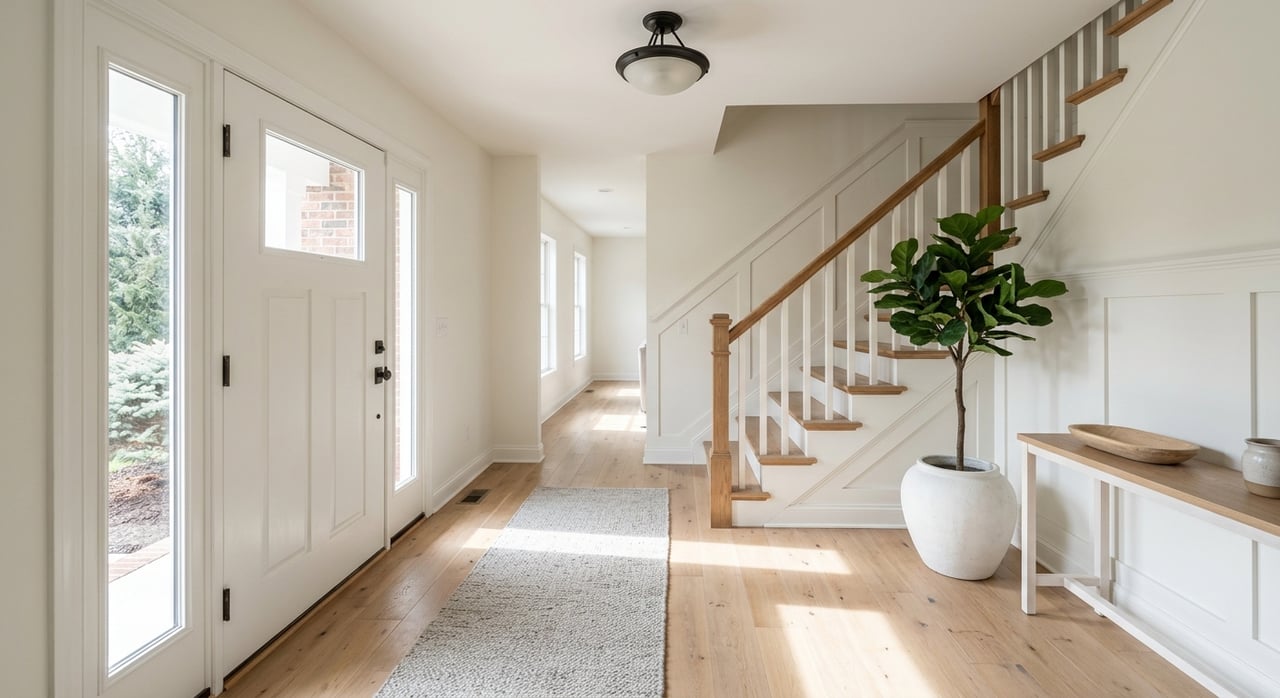
How to showcase commuter-friendly living
Commuters look for a clean, easy launch point for the day.
- Keep the driveway open and obvious for parking and turnarounds.
- Ensure your front entry is tidy with coat hooks or a simple bench to suggest convenient daily use.
- Organize the garage or mudroom to signal practical storage for busy routines.
These simple cues frame your home as an efficient home base for I-95 travel.
How our team coordinates local pros
A smooth process reduces stress and keeps your home show-ready.
Initial consultation and walkthrough
- A 30–60 minute on-site assessment to note curb appeal, interior priorities, and budget.
- An itemized staging plan with cost estimates and a timeline you can follow.
Vendor selection and contracting
- A vetted list of stagers, landscapers, cleaners, handypeople, photographers, HVAC contacts, and hauling services.
- Confirmation of availability and proper insurance for all vendors.
- Simple written agreements that cover scope, schedule, payment, and responsibility for any damage.
Scheduling and logistics
- A staging timeline tied to your photography date. For example: Days 1–2 cleaning and repairs; Day 3 landscaping and staging; Day 4 photography.
- Access coordination with a lockbox or key handoff and clear arrival windows for deliveries and pickups.
- Photo timing that favors bright daylight and, when useful, twilight.
Photography day protocol
- A final seller checklist: open blinds, turn on all lights, hide bins, relocate vehicles, tidy surfaces, and remove pet items.
- A prepared shot list, including exterior drone instructions where appropriate.
- A brief buffer period before the photographer arrives for last-minute fine tuning.
Post-listing support
- We monitor showing feedback and adjust staging if needed.
- Quick fixes as needed, like replacing a burned bulb or removing an extra chair.
Quick seller checklist
Use this to prepare for staging and photos:
- Clear driveways and park vehicles off-property if possible.
- Mow and edge the lawn; remove debris and fallen branches.
- Clean the front door, sweep the porch, and add two potted plants.
- Deep clean inside, wash windows, and address any pet odor.
- Open blinds and turn on all lights for photos and showings.
- Hide personal photos and excess items; make beds and clear counters.
- Confirm the staging and photography schedule and vendor contacts.
When to consider upgrades
Not every repair pays off before a sale. Focus first on visible refreshes that improve photos and showings. Bigger renovations, especially in kitchens, usually have lower short-term returns unless something is worn out or broken. Use comparable sales and your goals, like speed or price, to decide whether to go beyond staging.
Bringing it all together
If you highlight curb appeal, brighten your rooms, simplify layouts, and make outdoor living obvious, you will speak directly to what Ruther Glen buyers want. Add professional photos, and you are positioned to draw more attention from day one. If you want a step-by-step plan with trusted local vendors, we can coordinate everything so you can focus on your next move.
Ready to stage smart and sell with confidence? Connect with Michelle Nicely for a concierge plan tailored to your home and timeline.
FAQs
Should I stage a vacant home in Ruther Glen?
- Yes. Vacant homes can feel smaller and photograph as empty; at minimum stage key rooms or consider virtual staging if budget is tight.
Which rooms should I prioritize for staging in Caroline County?
- Focus on the main living area, kitchen, primary bedroom, and outdoor spaces; include mudroom or garage if they are selling points.
How long should rented staging stay in place during my listing?
- Keep staging through photography and the first several weeks on market, then adjust based on showing feedback.
Do I need professional photos or drone images for acreage?
- Professional photos are strongly recommended; drone shots are especially useful for larger or irregular lots to show context.
How should I handle seasonal staging in Ruther Glen?
- In summer, highlight outdoor living and shade; in winter, keep walkways clear and interiors bright and cozy, with landscape cleanup adjusted to the season.